The accessories I keep reaching for tend to solve very specific annoyances. A lens cap needs somewhere to go. A backdrop needs to stay put. A card needs enough space for the moment I actually came to record. None of this is glamorous, but it makes using the expensive equipment much less frustrating.
This is the practical side of my kit: small things with a clear job. Where I have personal experience, I have included the reason I care about the item; where the linked product is simply an option to consider, I have said so.
1. Keep a lens cap from disappearing into the abyss
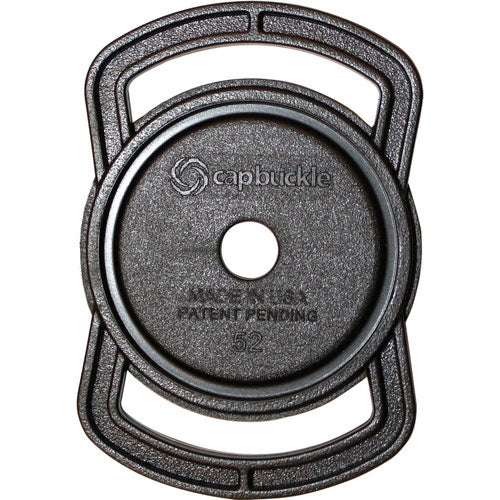
The accessory: FoRapid lens-cap buckle.
Personally used: one of my favorite hiking accessories because I do not want my cap slipping out of my pocket and falling into the abyss while I am leaning over at an awkward angle trying to take a photo over a giant chasm. A pocket feels like a perfectly good solution right up until it very much is not. Also a great option if, like me, you are morally opposed to the dangle-string alternative to keeping your lens cap nearby.
The buckle gives the cap a place on the camera strap while I shoot. Check the size option against the lens-cap diameter before buying; the useful part is having a secure place for the cap, not adding another thing that almost fits.
2. Avoid a “card full” interruption at the critical moment
Personally used: I use a 1TB SanDisk in my Mavic 3. I once handled exclusively drone footage for a three-hour event, with pre-event and post-event shooting too. The drone was not running the entire time, but the card held out through the whole job. That meant I could focus on the headache of power instead of the headache of power and storage.
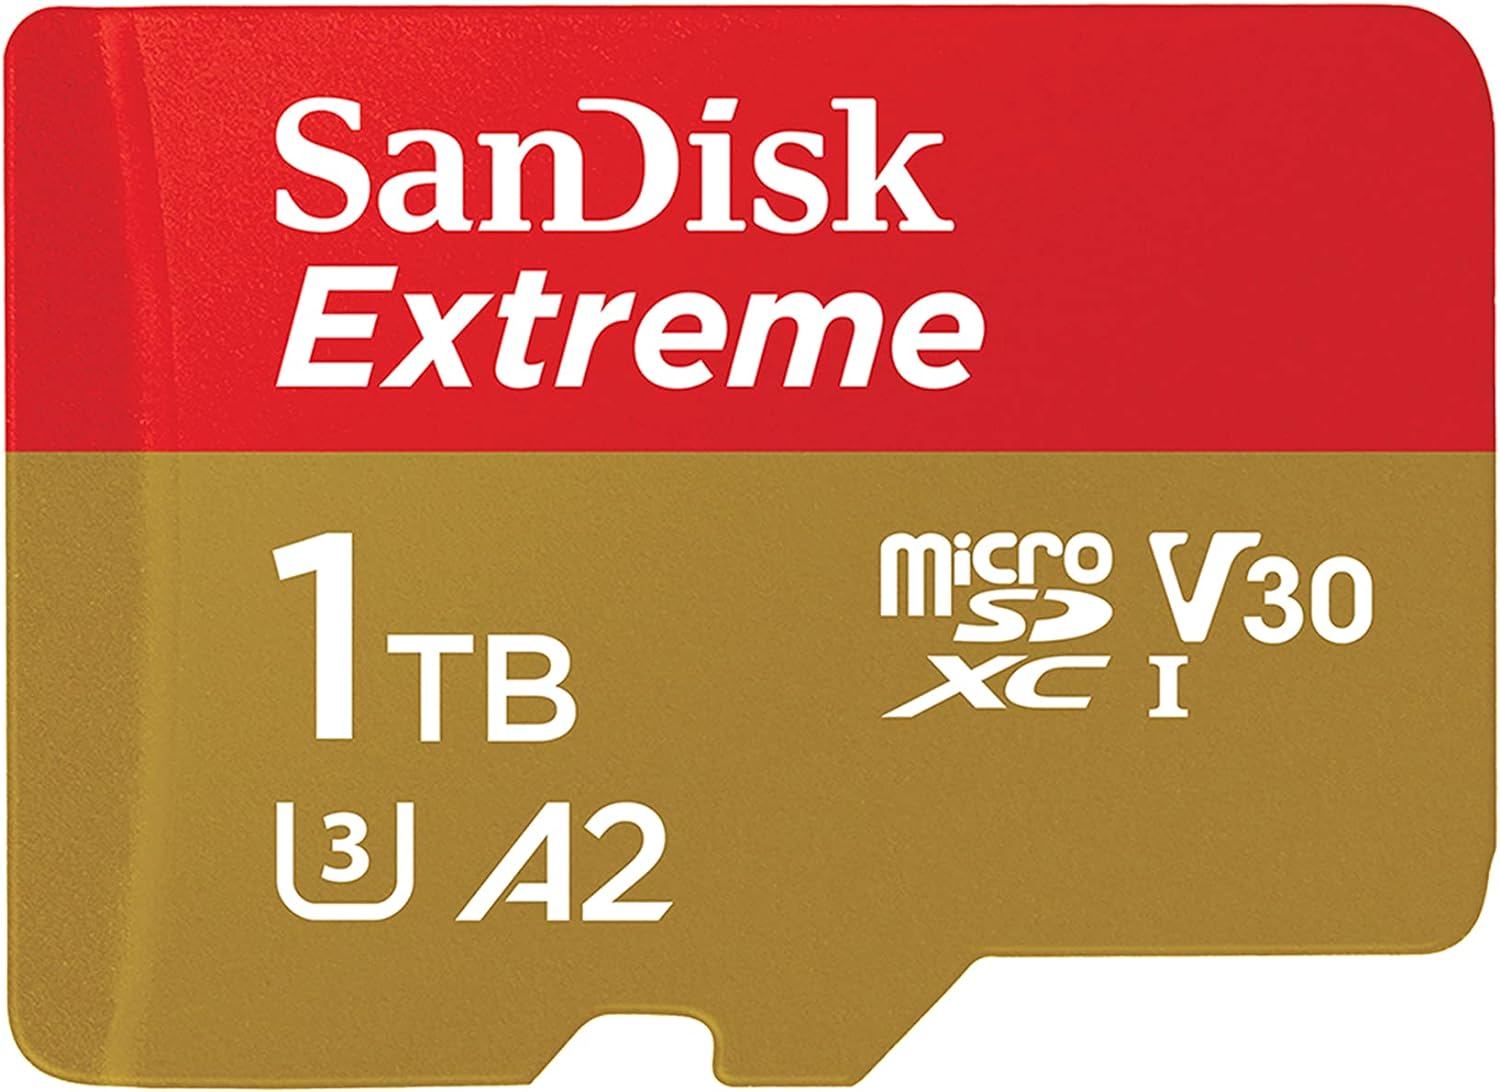
The option: SanDisk Extreme 1TB microSDXC card — U3, V30, A2. I use a SanDisk 1TB card; this is a specific Extreme option in that capacity, rather than a claim that this is the exact generation of my card.
That is why I like having recording headroom for the drone or DJI Osmo: I do not want to stop and make storage decisions at the exact moment something worth filming happens. It is not a promise of unlimited recording time, and I still copy and back up footage after the job.
A note on compatibility: that is my experience with my own Mavic 3, rather than a blanket compatibility guarantee. DJI’s published guidance lists a 512GB maximum for the Mavic 3. Check the supported capacity and recording-speed requirements for your exact drone or Osmo before choosing a card.
3. Make gear and cables easy to identify
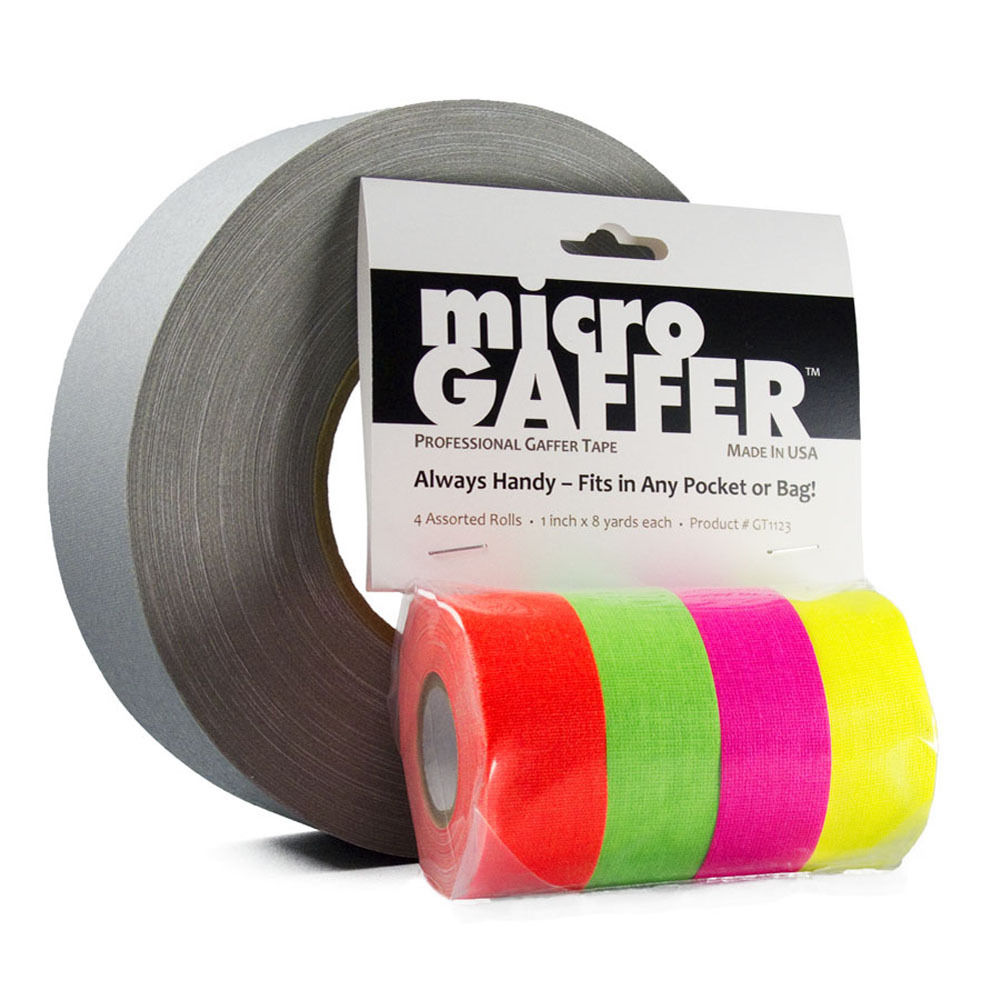
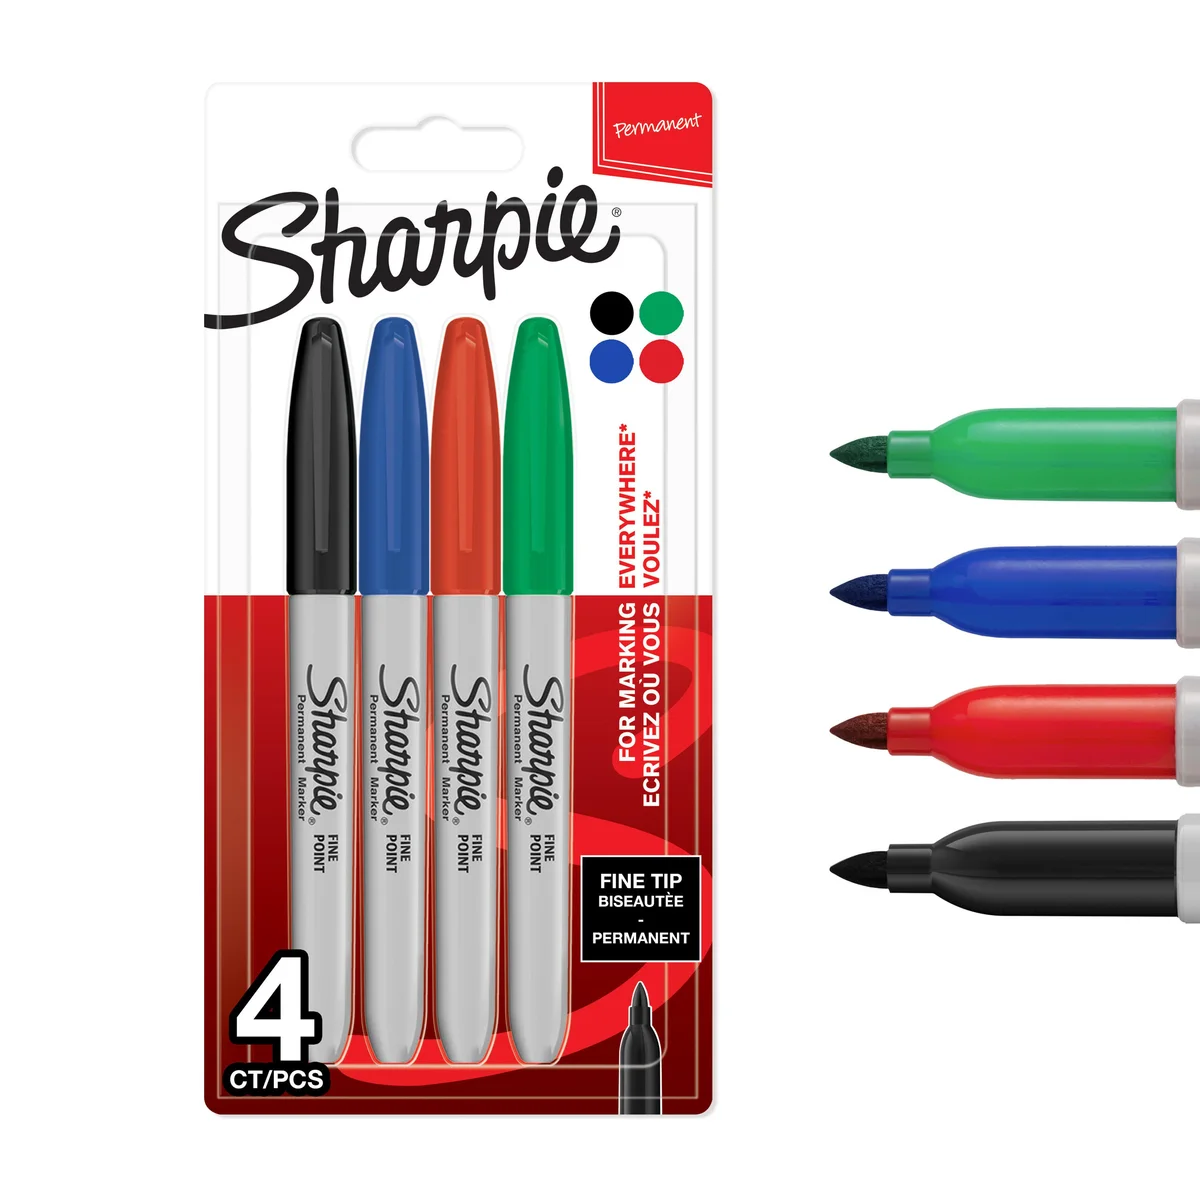
The combination: microGAFFER fluorescent tape + multicolor Sharpies.
Personally used: keep gaff tape and Sharpies with you at all times so you can label everything that needs to come home with you—even if it does not actually belong to you. Your name is the person responsible for getting it back, not a declaration that you have suddenly acquired your friend’s equipment. Add the owner’s name too when it helps.
You have no idea how easy it is to arrive at an event with borrowed gear that made the whole production possible, only to realize none of it is labeled. Now I have to go back to my friend—or worse, my staffer has to go back to their friend—and explain that we lost their 512GB memory card. Was it mixed in with the university rentals? The contractor rentals? Does the intern have it? Yeah, let’s just avoid that.
Colored tape makes things easy to spot; writing down whose gear it is and who is returning it makes the handoff clear. Label the card’s case or wallet too, and keep any card label clear of the contacts and the slot.
The little rolls are easier to keep in a working kit than a giant roll of tape. I would rather have a small amount with me when I need it. Test tape on delicate finishes, and keep labels clear of vents, controls, and anything that needs to move.
4. Hold a backdrop when the venue gives you nothing useful
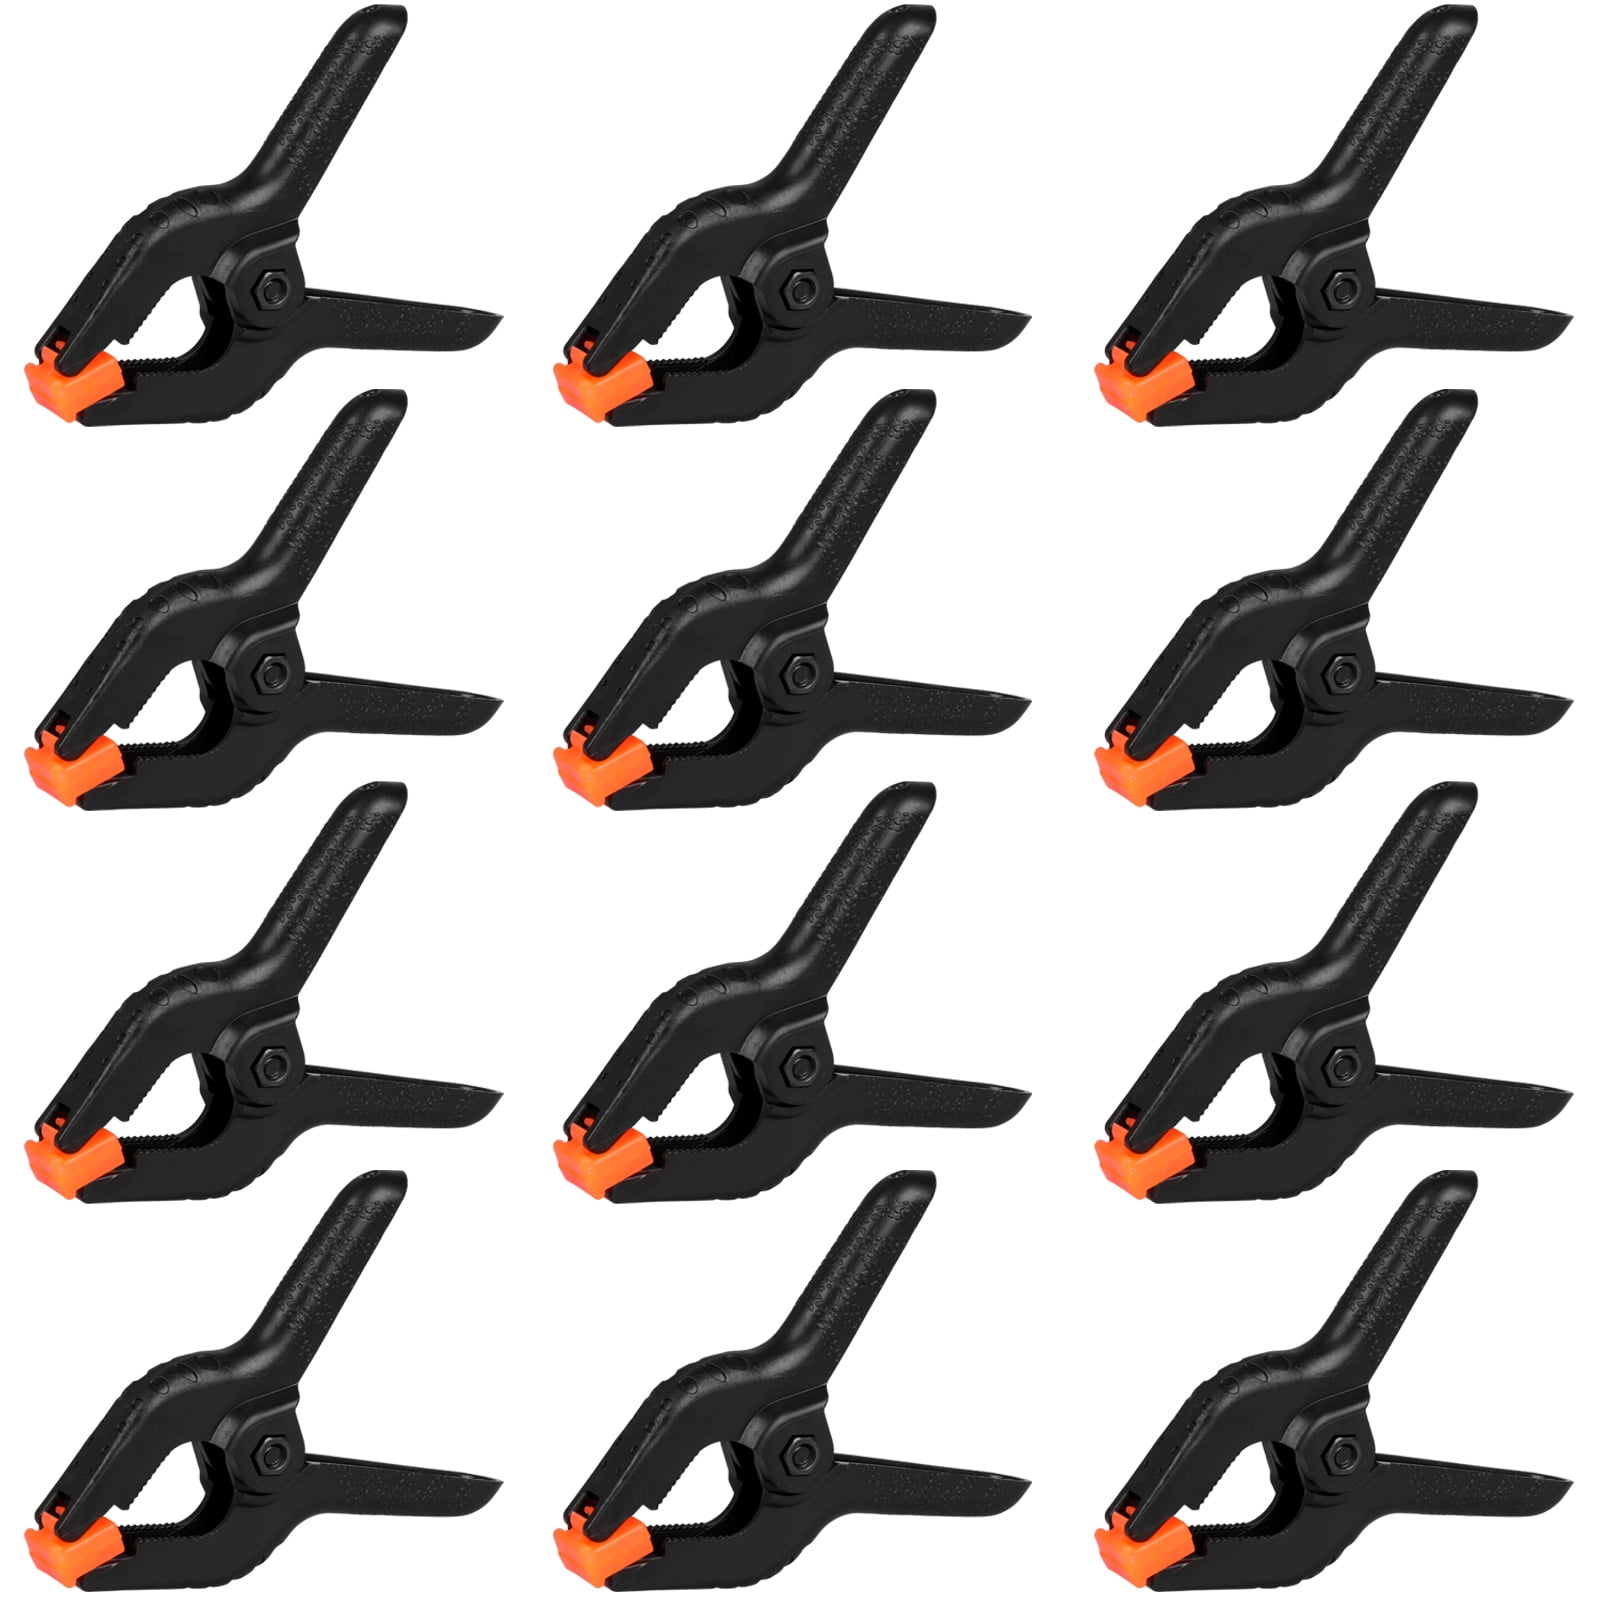
The accessory: Romeda 3.5-inch spring clamps.
Personally used: you can never have enough clamps. They solve awful little rigging problems and are especially useful for photobooths, backdrops, and event setups where the space does not give you an obvious place to attach anything.
This is the sort of item that makes much more sense once you have set up a photobooth in a room that was clearly not designed for one. Use them for lightweight setup jobs; spring clamps are not a substitute for load-rated camera or lighting supports.
5. Deal with dust and fingerprints before the shoot
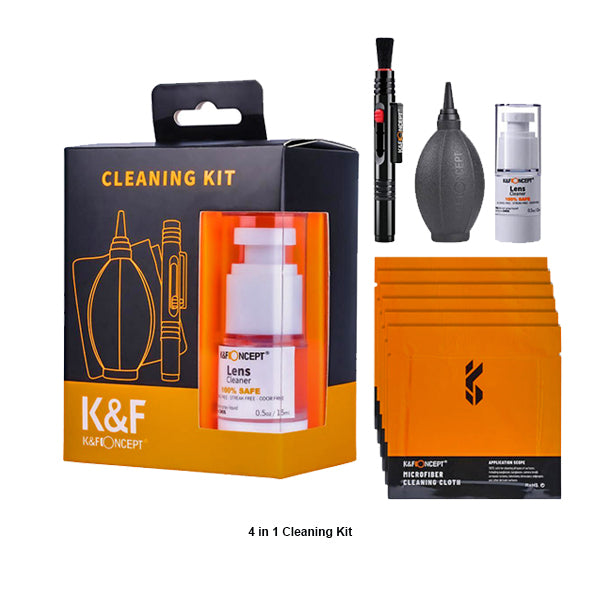
The accessory: K&F Concept 4-in-1 camera cleaning kit.
A small cleaning kit is worth keeping within reach because noticing something on a lens five minutes before a shoot is a terrible time to discover you have nothing suitable to clean it with. This kit groups a blower, lens pen, and microfiber cloths in one straightforward option.
Blow away loose grit before wiping, and keep the cloths clean instead of letting them collect dust loose in the bottom of the bag. This is for routine exterior and lens care; sensor cleaning is a separate job.
6. Protect a lens without dedicating another rigid case to it
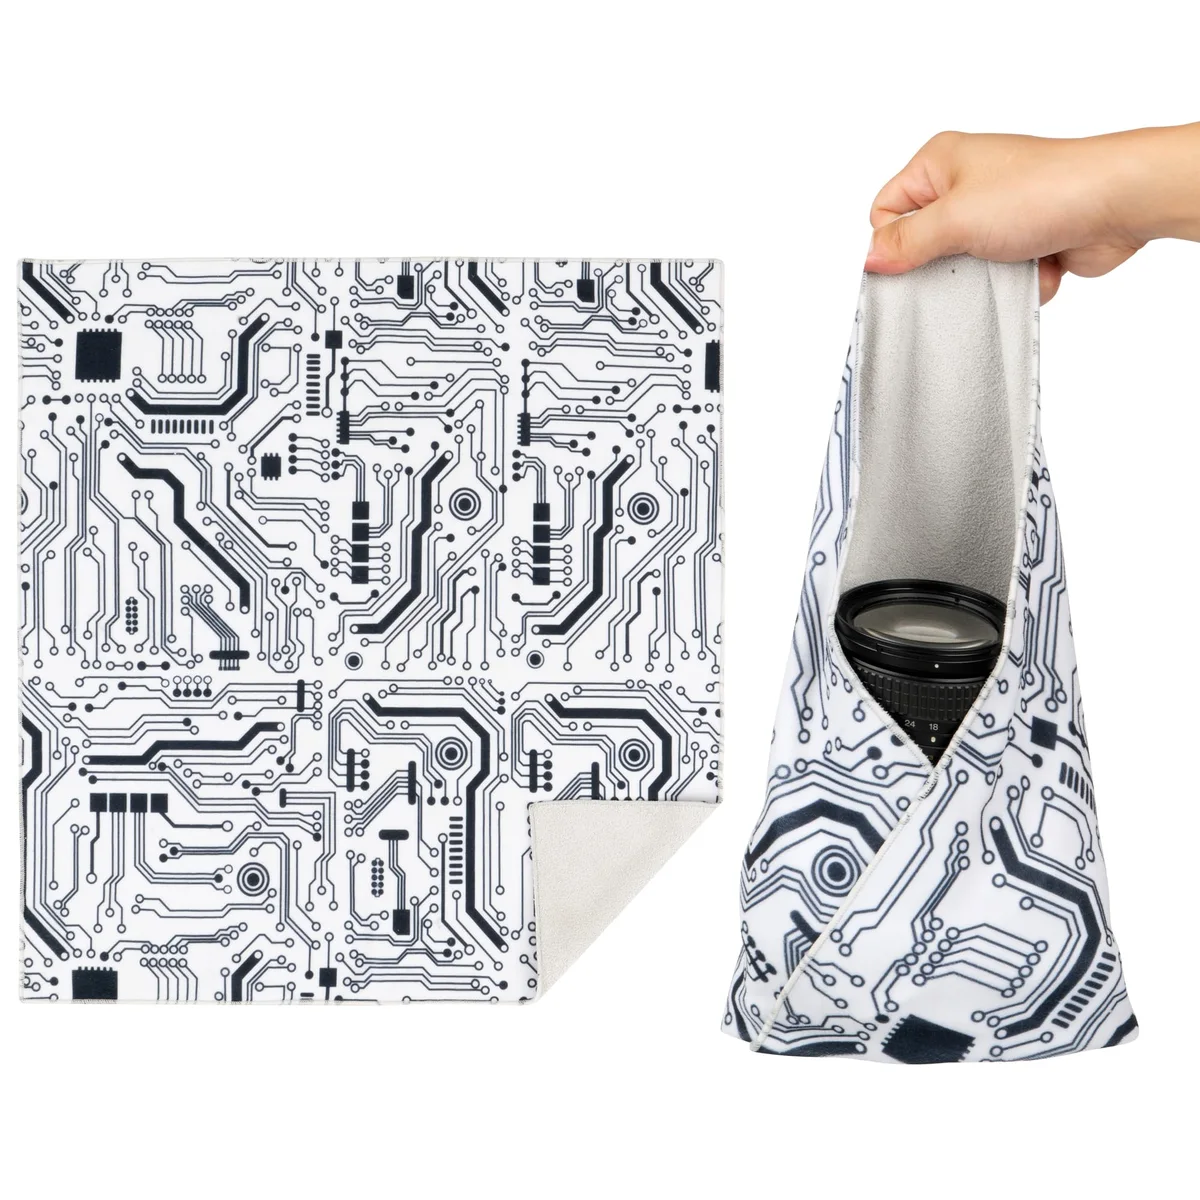
An option: Walking Way protective camera wrap.
Not personally tested in this exact brand: I am hyper-sensitive about my gear getting scratched, so protective wraps appeal to me. They give a lens, camera body, or other fragile accessory a layer of separation when I want to put it into a bag without finding room for another rigid case.
Choose the size for the object you actually need to wrap. Think scratch protection and separation; a wrap does not provide the crush protection of a hard case.
7. Stop letting the cable be the charging bottleneck
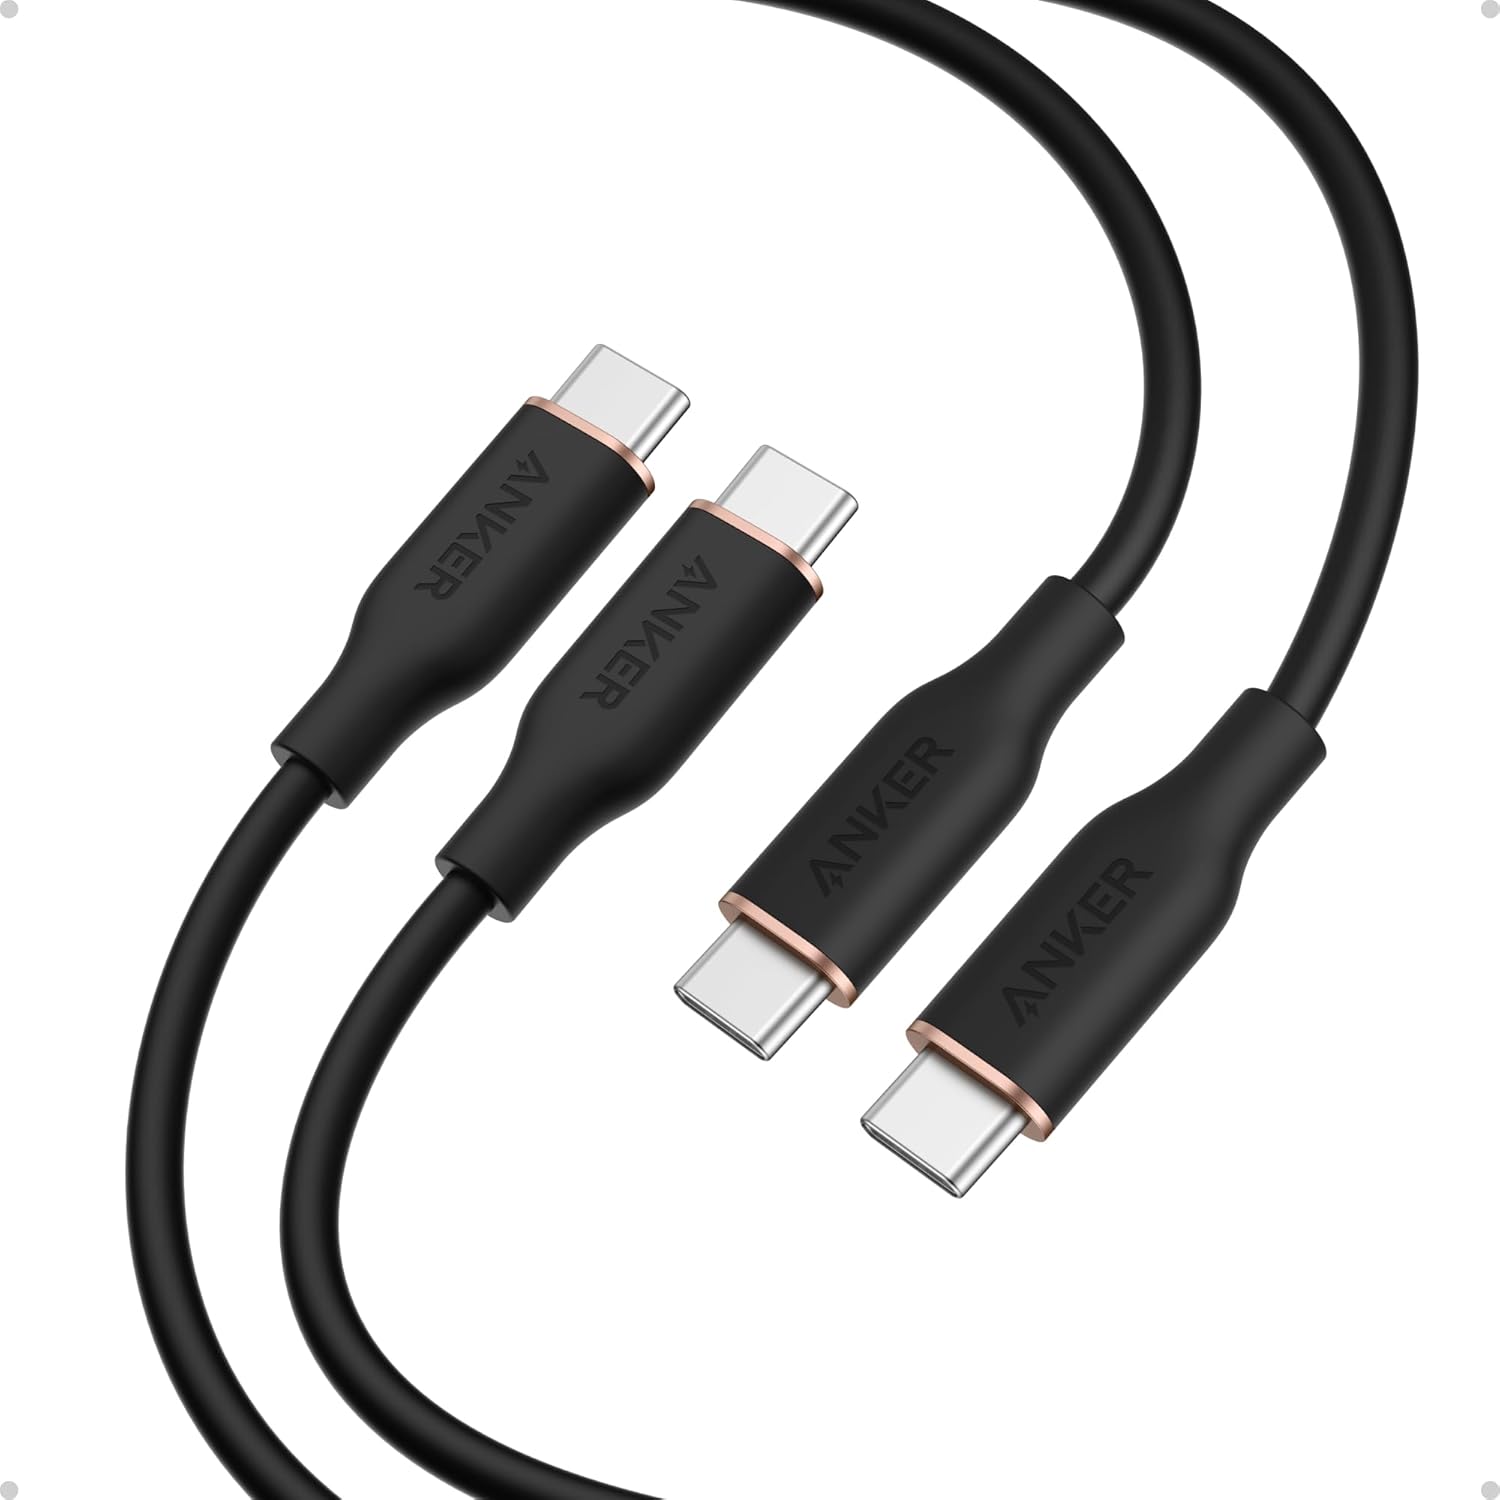
An option: Anker 240W USB-C to USB-C cables — black, 6-foot two-pack. This is a suggested cable option, not a claim that I have personally tested this exact pack.
Do not cheap out on power. Of all the places to spend a little more, this is one that matters. You can have a great power bank, a capable wall charger, or a useful USB hub and still charge painfully slowly if the cable cannot carry the power your setup needs.
When I am moving between shoots and need to charge ten-plus things, time matters. Sometimes there are only a few minutes to reset before shooting again. I want cables that work and can keep up with the rest of the setup.
The 240W figure is the cable’s maximum supported charging power; the charger and device still determine what you actually get. Check the output of the individual port, especially when several devices share one charger. These are USB 2.0 cables for charging and basic data, not my choice for fast footage transfers or a monitor connection.
My Anker hub: fewer port problems
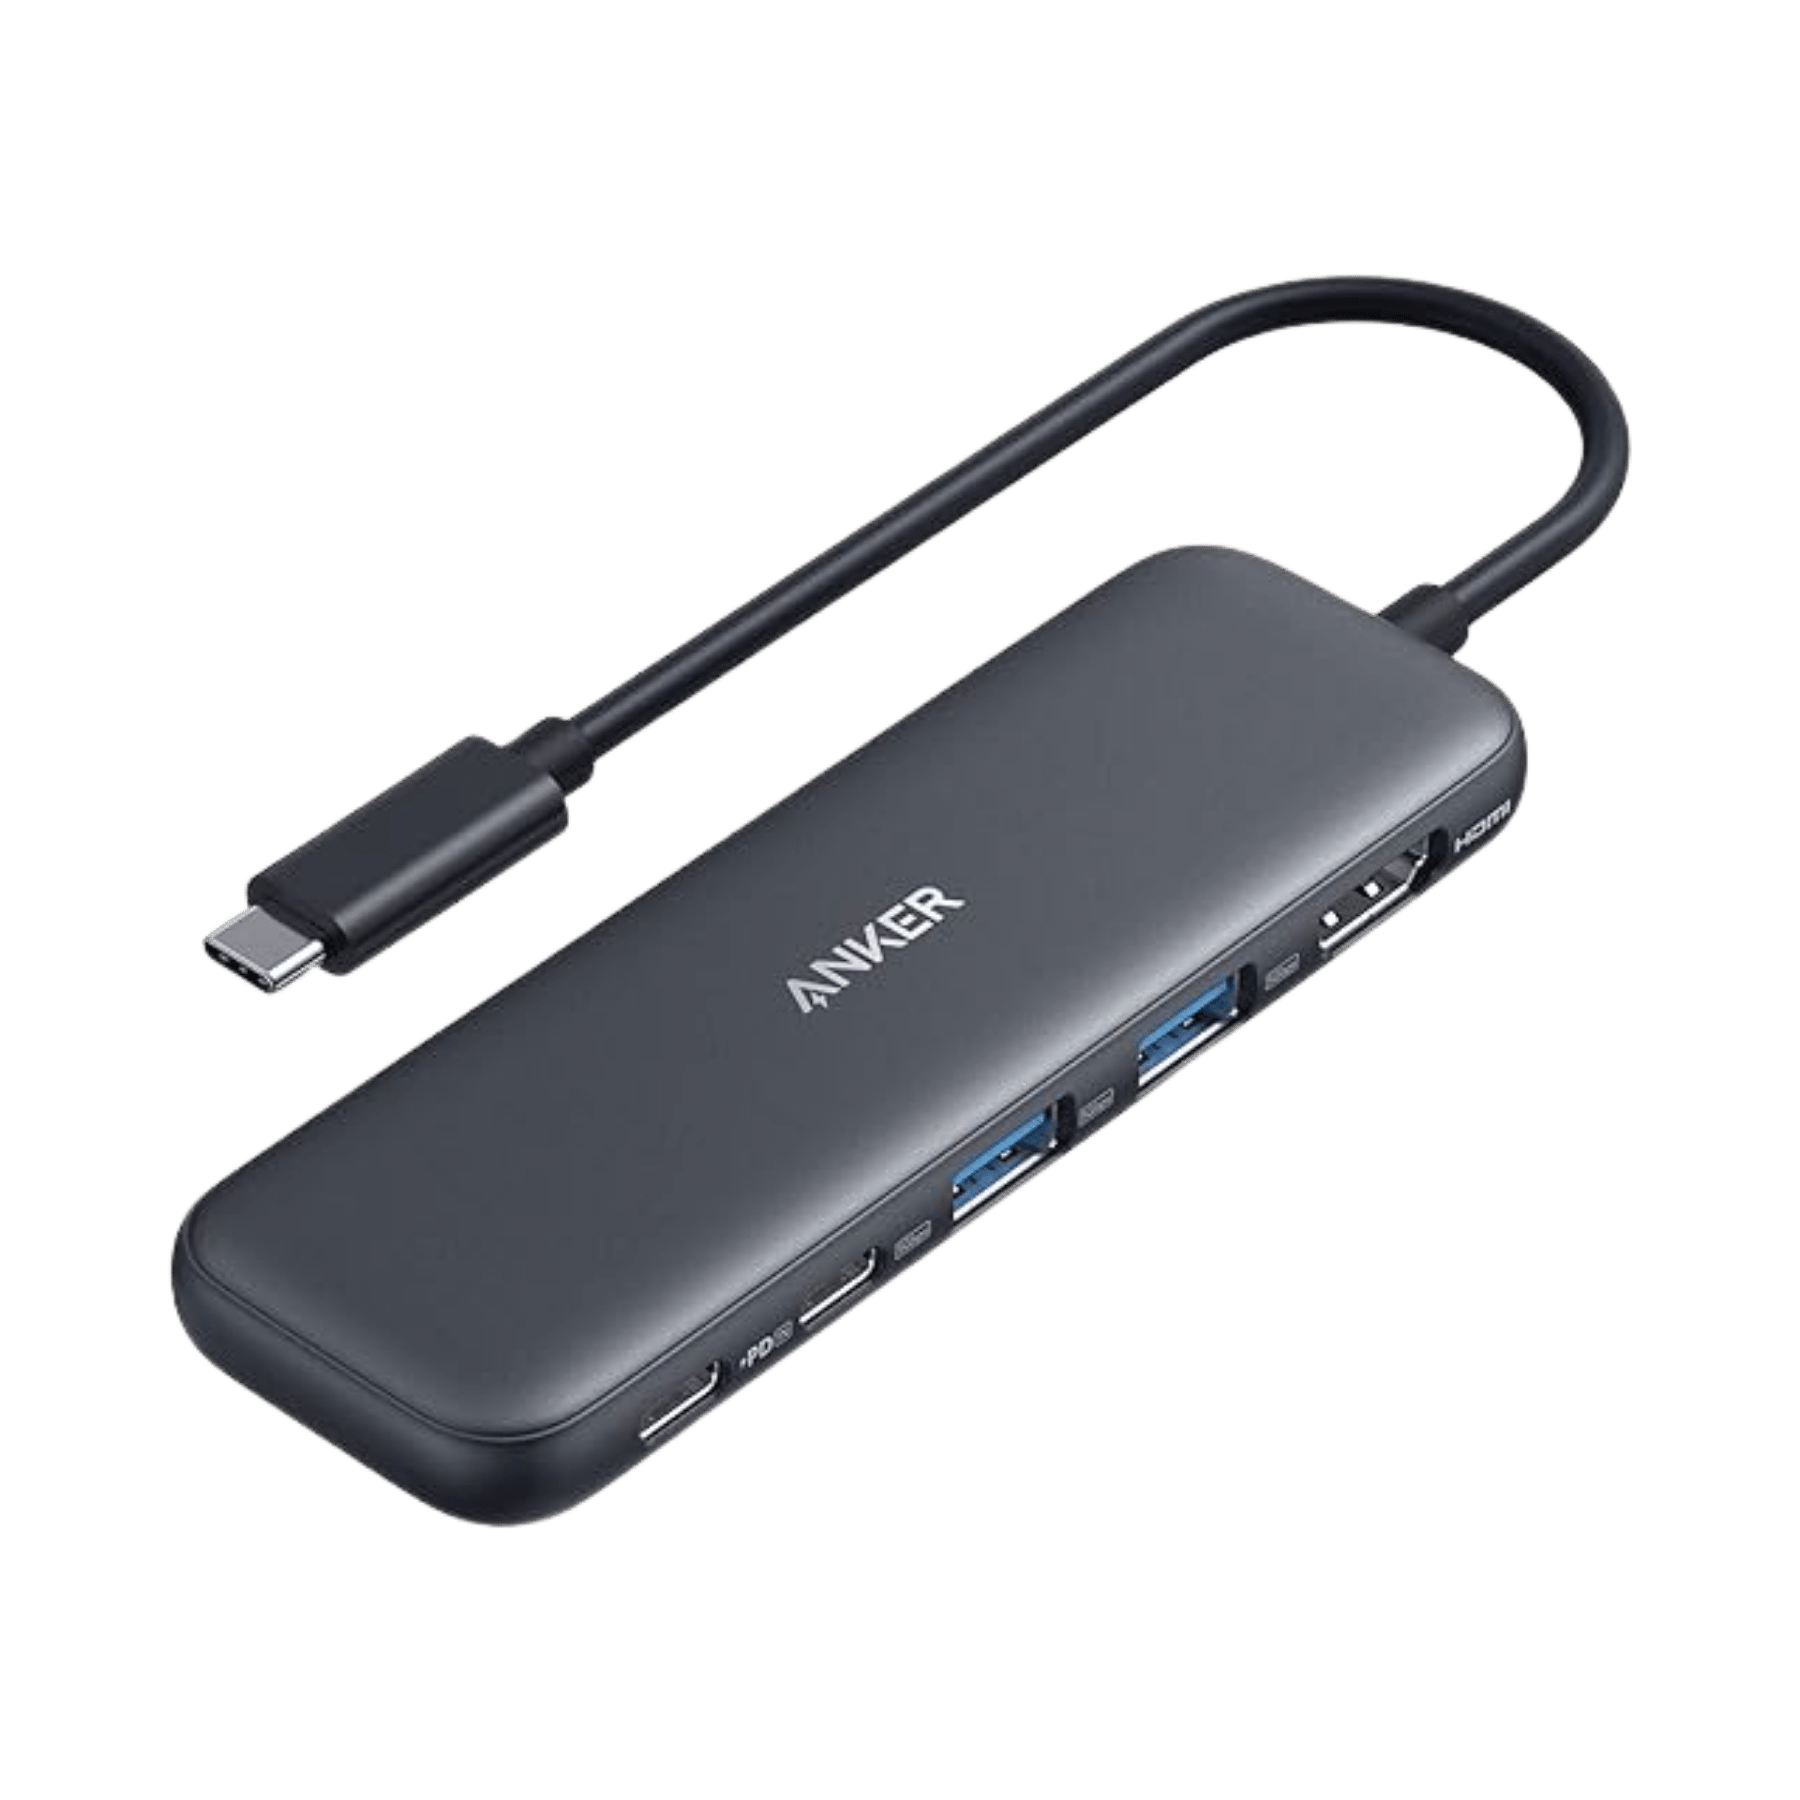
Personally used: Anker 332 USB-C Hub (5-in-1). When a laptop has fewer ports than the job has accessories, a hub lets me connect the drives, card reader, and HDMI display I need without constantly unplugging one thing to use another.
It is part of the same plan: spend less time rebuilding the setup and more time getting the work done. This particular hub is for connectivity and laptop power pass-through, rather than charging ten accessories at once. Its USB-C PD input accepts up to 100W and passes up to 85W to the laptop; it needs a separate charger. A capable cable matters here too.
8. Keep shooting while the power bank stays in your bag
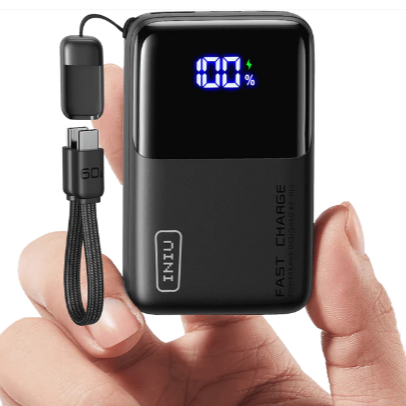
My original favorite: INIU Mini 10,000mAh 45W power bank. I lost mine, and this is still the one I would buy again. The detachable cable doubles as the carrying loop.
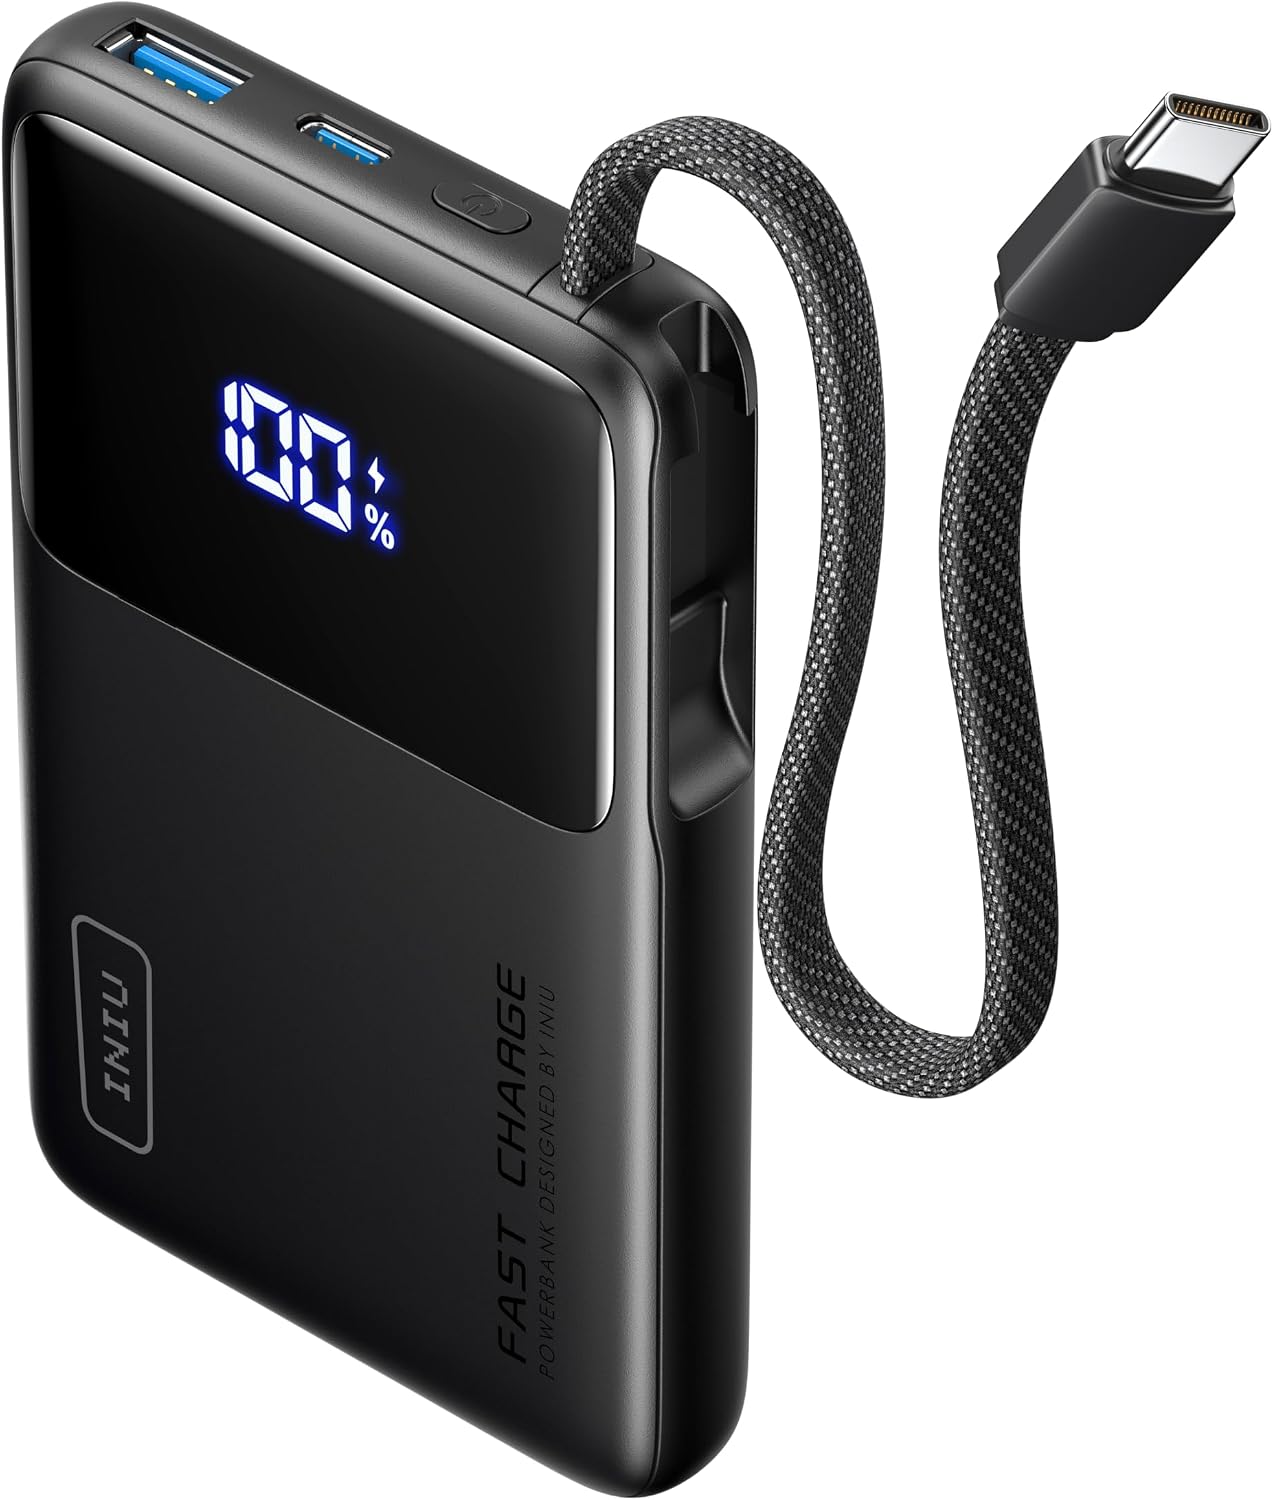
The sleeker replacement I also like: INIU 10,000mAh 45W power bank with built-in USB-C cable. Both belong here because I care much more about keeping the shoot going than finding an outlet every time something gets low.
These are useful for more than topping up a phone. With a camera that supports USB power while recording, a suitable bank and cable can keep it powered while I move. Use a longer cable if needed, put the bank in a pocket or crossbody bag, and keep shooting instead of balancing the whole setup beside an outlet.
Check the camera’s USB power requirements first: charging a battery while switched off and powering a camera while recording are different capabilities. Match the required PD output, give the cable enough slack for movement, and route it so it cannot snag.
9. Protect sunglasses without carrying a giant hard case
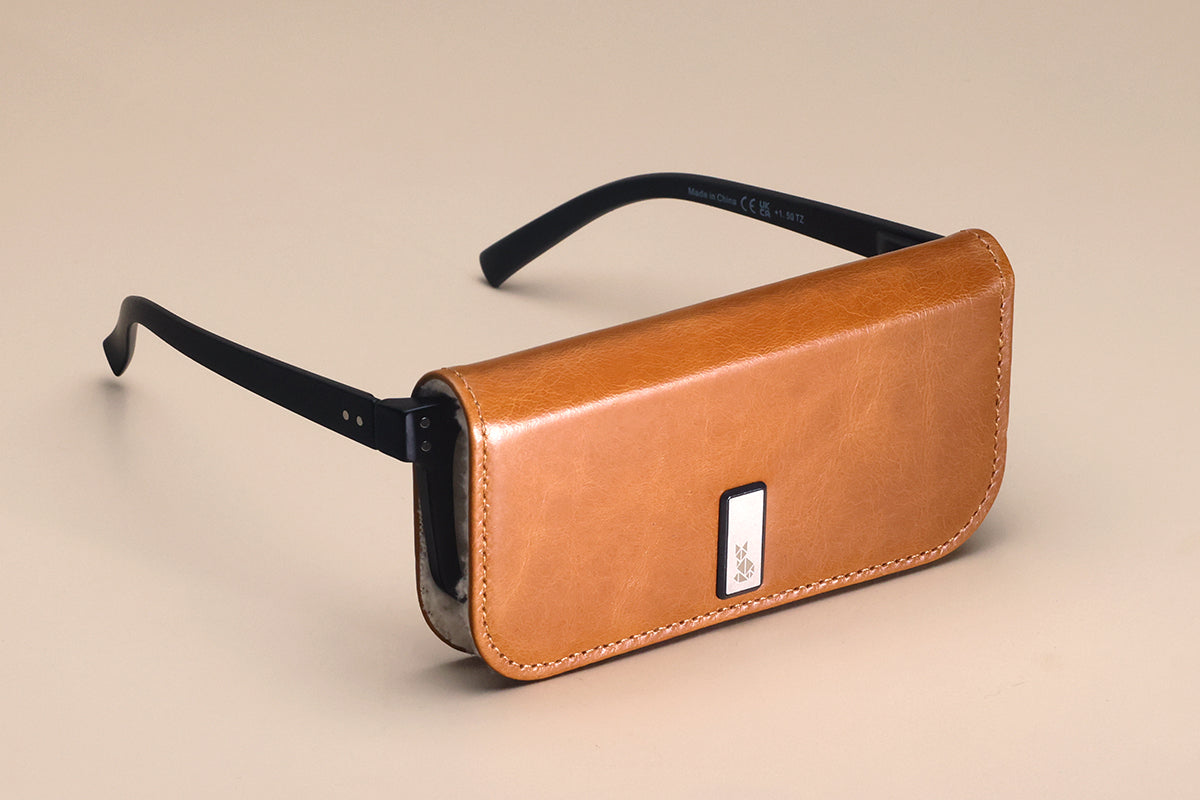
Not technically a camera accessory, but sunglasses are part of my outdoor working kit—and protecting my eyes matters when seeing is the job. My premium pick: Bristow Lens Jacket. I had been searching for a low-profile way to protect my sunglasses for a long time. I wanted something classy enough for a formal event, polished enough to carry in my hand at a wedding, and slim enough for a pocket or my very slim crossbody bag. The Bristow did it for me.
A giant hard case defeats the point if I cannot fit it in the bag I am actually using. The Lens Jacket’s leather finish and magnetic closure make this feel like a considered everyday accessory. Check Bristow’s fit guide against your glasses before ordering.
More affordable Amazon options
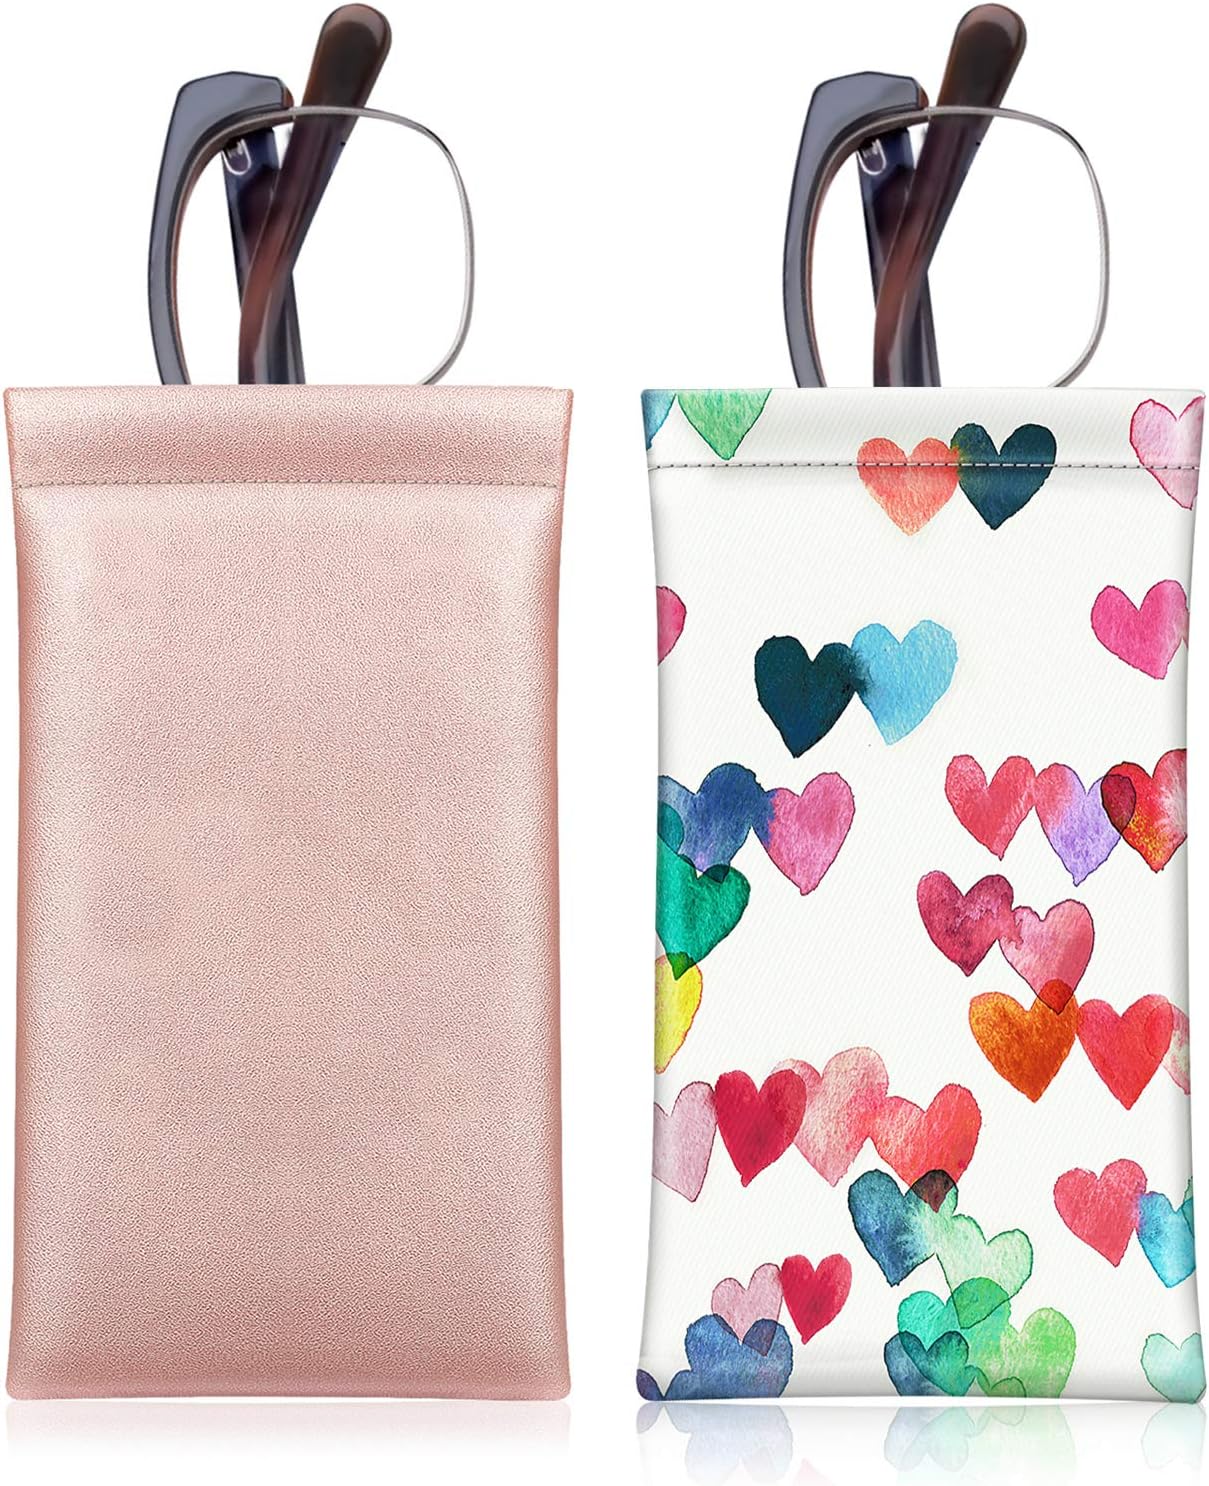
Fintie squeeze-top glasses pouches, two-pack: the pictured rose-gold and hearts pair offers a slim pouch format if you prefer something playful. MoKo squeeze-top glasses pouches, Leaves + Flowers two-pack: another compact option with decorative prints and a soft lining. These are alternatives to consider, not products I have personally tested.
Neither should be treated as a crush-proof hard case. Measure your folded glasses first, especially for oversized frames, and choose the pouch you will actually keep with you.
10. Put a phone on the camera—for BTS or even the shot list
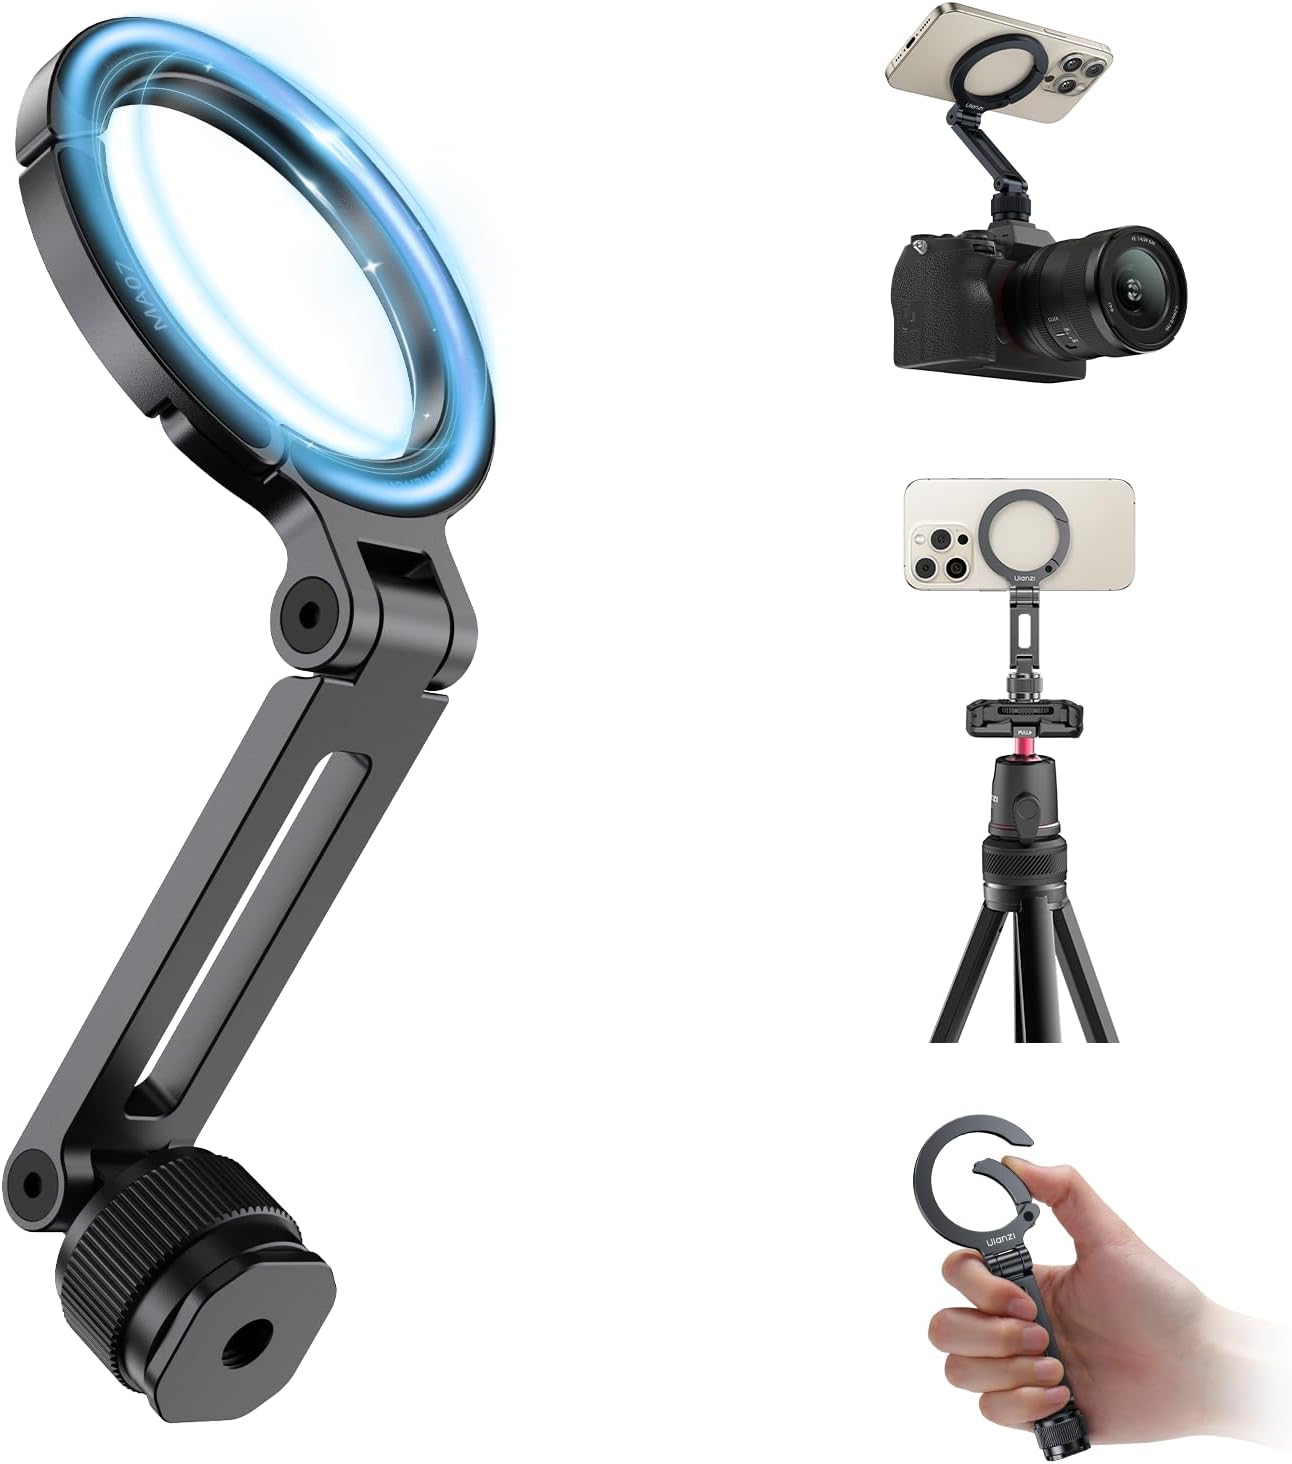
Interested in trying: Ulanzi MA07 MagSafe-compatible magnetic phone mount with cold-shoe base. This is a mount that fits the idea, not a claim that it is the exact model my coworker used. It sits in the camera’s accessory shoe and holds a compatible phone or magnetic case.
My coworker tried a phone-on-camera setup and it seemed pretty successful. I am really interested in trying it myself, but I am debating between a phone mount and attaching my DJI Osmo to the camera.
As the photographer, I want photography to stay my priority. I also want to be a team player: if I am in the right spot at the right time, I would love to get a few shots our videographer can use. When I am working solo, it could also help capture BTS for a promo reel showing the photo shoot and the finished result.
The Osmo’s very wide view is appealing for this, but my phone may be sufficient. The catch is that a phone busy recording is harder to use for a shot list. Then again, maybe having the shot list mounted where I can see it is the more useful idea in the first place.
My starting point would be the phone as a visible shot list, switching to short BTS clips when it helps. If I want a separate camera recording while my phone stays available, the Osmo setup makes more sense. Camera-mounted footage follows my movements and framing; it is extra coverage, rather than a replacement for the videographer’s planned shots.
The MA07 needs a MagSafe-compatible phone or case. Check that the phone clears the viewfinder and controls, and remember that it occupies the shoe a flash or trigger might need. Test the hold before a job; a clamp is worth considering for more vigorous movement.
11. Keep keys and earbuds from falling out of your bag
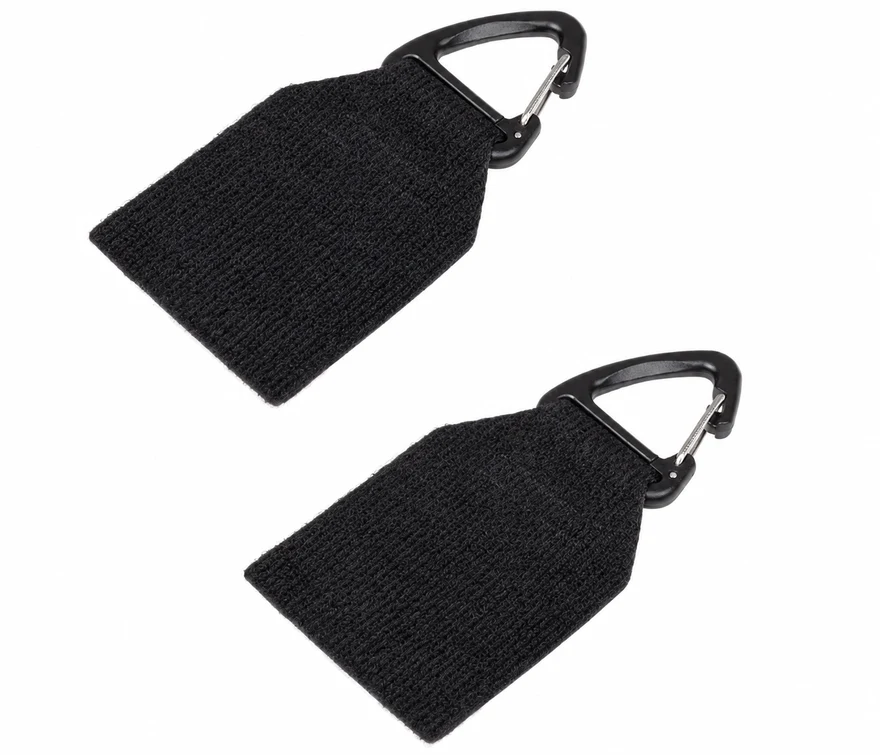
A few times, my spare office keys or earbuds slipped out when I turned my Peak Design backpack on its side to get to my cameras and lenses. I added these gear clips inside the backpack and my Pelican. Now anything on a keychain or carabiner clips in, and I can open the bag without wondering what might fall out. See how I pack both bags.
The best problem solver is knowing where everything goes
Honestly, the best problem solver for me has been deciding exactly where everything goes in my bags and making that second nature. Once I stopped looking for my stuff and knew exactly where things were, I could put that energy and brainpower into the actual job.
That matters whether I am doing an on-site shoot, an executive-level presentation, or headshots and interviews. Once I can stop thinking about my gear—and eliminate the random little problems that keep bothering me—I can focus on what matters.
Buy for the problems you actually have, then give each solution a permanent place in your kit. For inexpensive gift ideas, see the under-$25 guide; for packing, airport logistics, and travel-day comfort, see my travel essentials.